Fashioning a new vest out of an old pea coat…
- No Comments
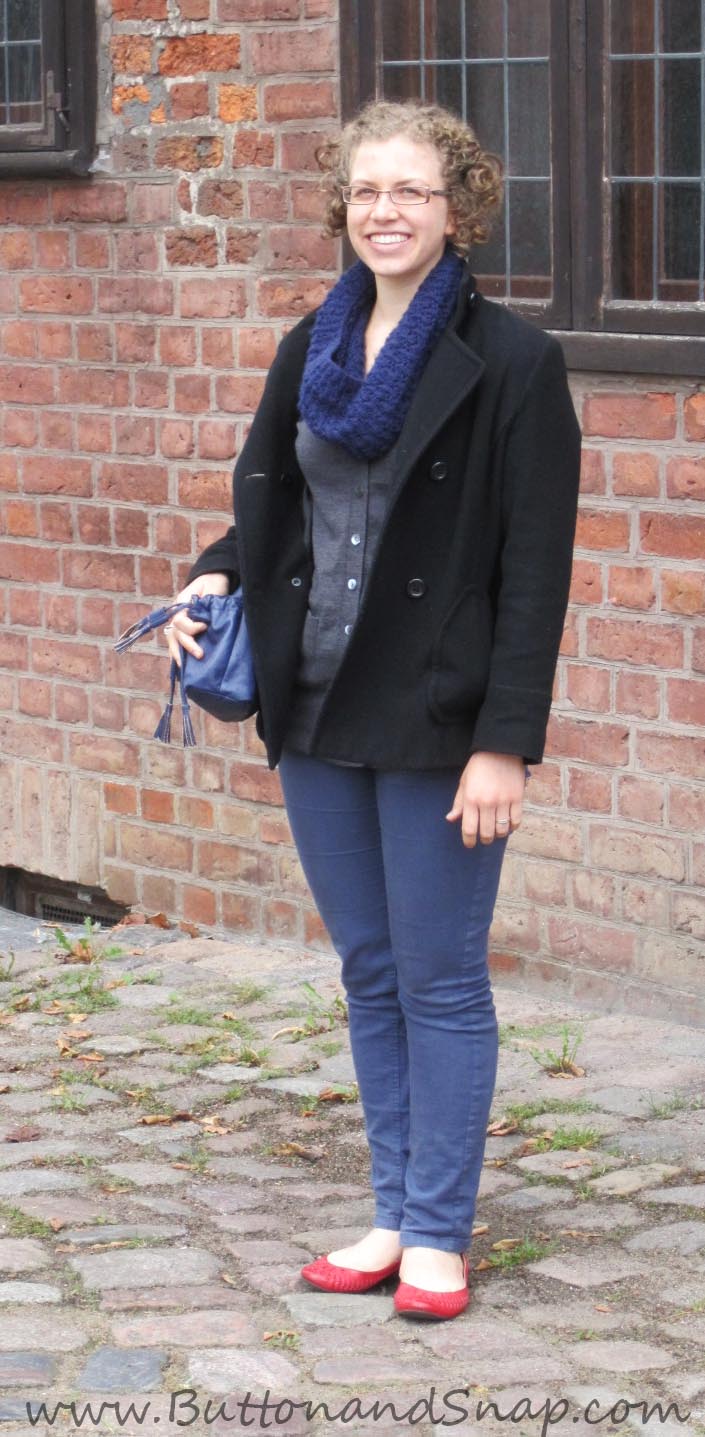
 Check out this pea coat. It’s nice and basic, but I’ve had it for almost 10 years, it’s looking pretty threadbare, and it’s just not keeping up with Berlin …uuhh… late summers (it, like me, is from Southern California). So this year in August, I was freezing one evening in my coat and I decided it was time for it to become something new…. a felted wool vest!
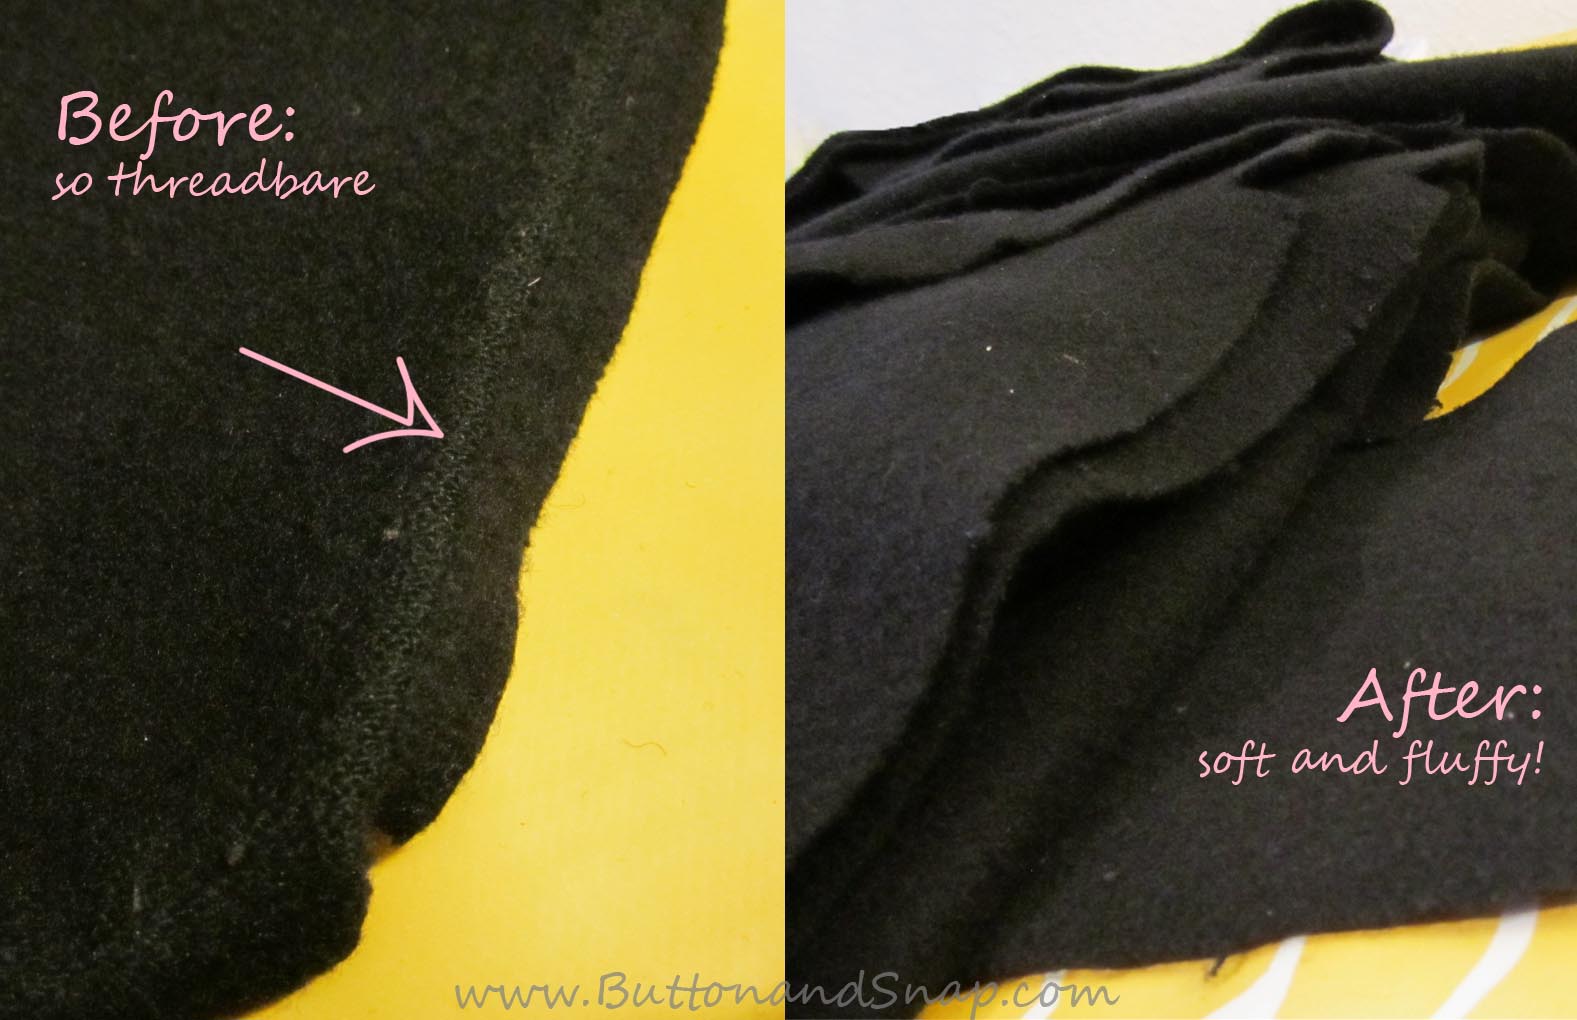
So, first steps first, I ripped every seam out so that I just had the pieces. Backing each piece was fusible interfacing, which had to go before I could felt the fabric. By the time I got that pulled off , little tuft by little tuft (it was only really firmly, and heating it with an iron didn’t loosen it up as I’d hoped), I’d put six hours into the project and my fingers were sore from scraping off the wool (thank goodness for youtube; it helps kill the time).
 But onward and upward: I washed it once at 95C and put it through the dryer, generating the hugest ball of lint I’ve ever seen after one dryer load – 2 full handfulls. Cross your fingers for me that I didn’t clog the washing machine; there’s no lint screen in there. After that I took a lint brush to every piece until nothing more rubbed off – another 2 hours. After that I could start the fun part!
I used the free Franzi vest pattern from Burdastyle (my third time using it; I’ll post the other 2 vests for you soon), but removed the princess seams, extended the center front so it would be double breasted, added a front collar, and changed the fake pocket flaps to fake welt pockets.
Luckily I did a tissue fitting, as I found that the bust points were way too far to the sides. Maybe that’s the problem with the other 2 vests; they both need adjustments.
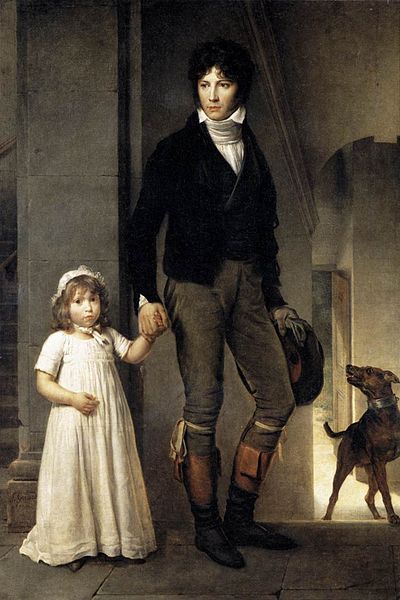
 My inspiration was men’s waistcoats from the early 19th century, like this one. Namely, close-fitting, ending at about the natural waist, double-breasted, and with a collar.
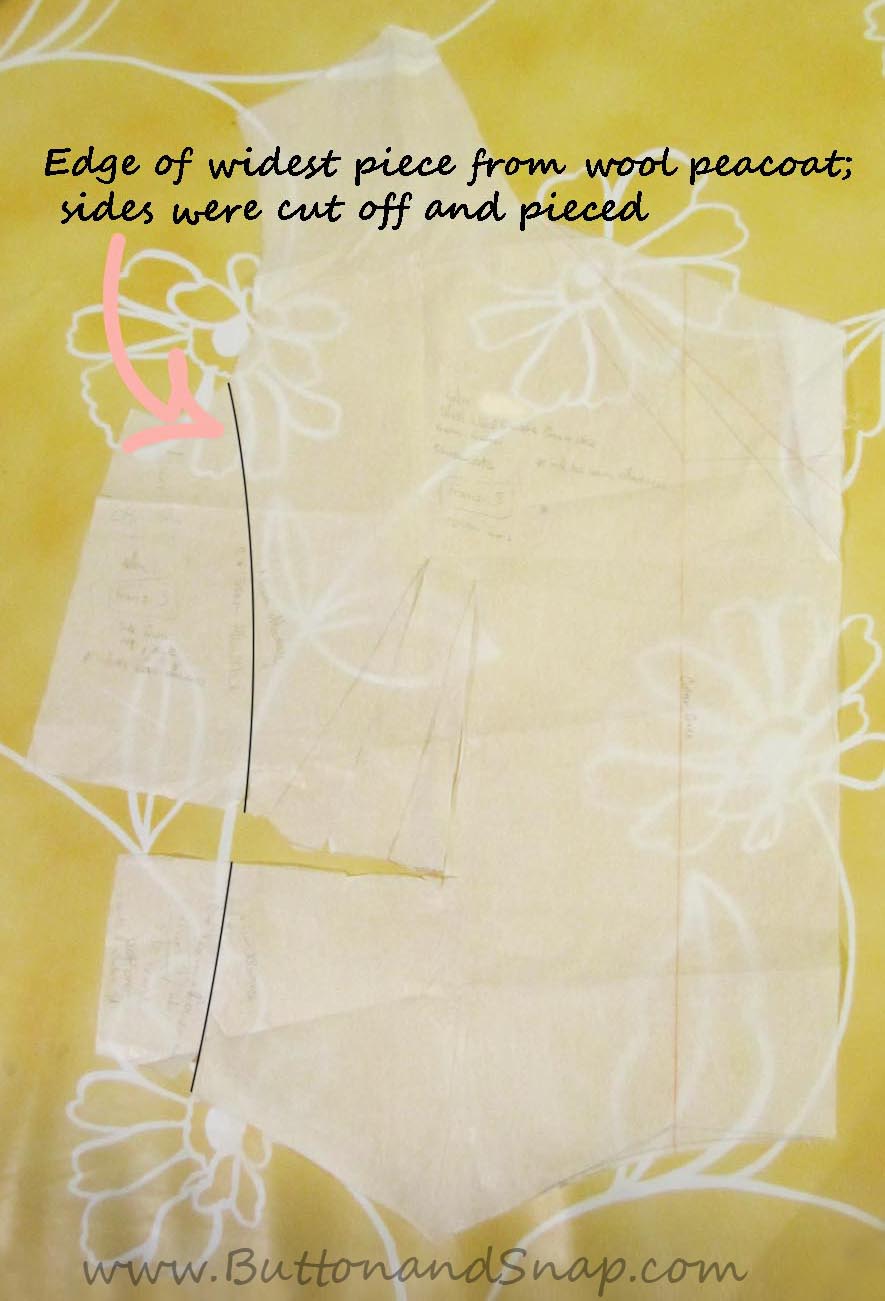
I decided to do lapped seams rather than traditional seams, firstly to add a little surface interest – which works well since felt doesn’t ravel – and secondly to avoid bulky seams, as the fabric is so thick. Since I’m working with fabric pieces from the old coat, I had to adjust the pattern for the I’d made so that it would fit on the pieces I had.
 Here’s a photo of the pattern and the parts I had to piece. I’ll post more when I’m farther along!


Leave a Reply