Making a blazer using semi-industrial techniques
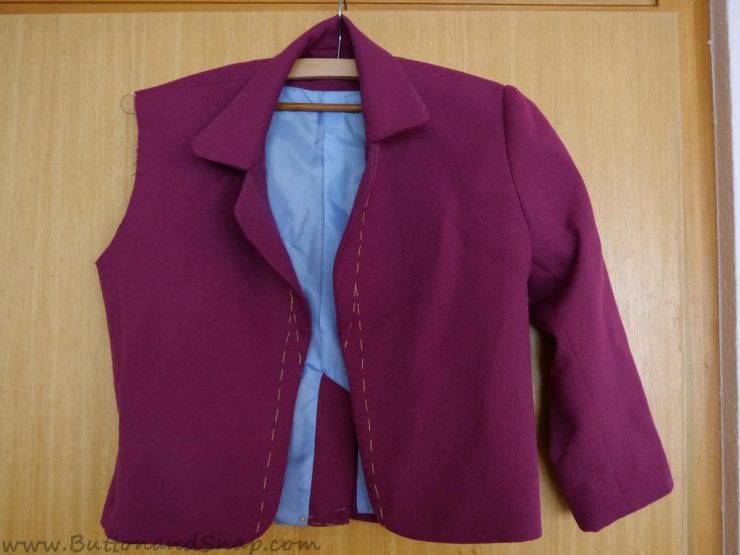
I just took an intensive weekend course on how to make a blazer at the community college and I learned so much! In just 2 days I put together this sample blazer.
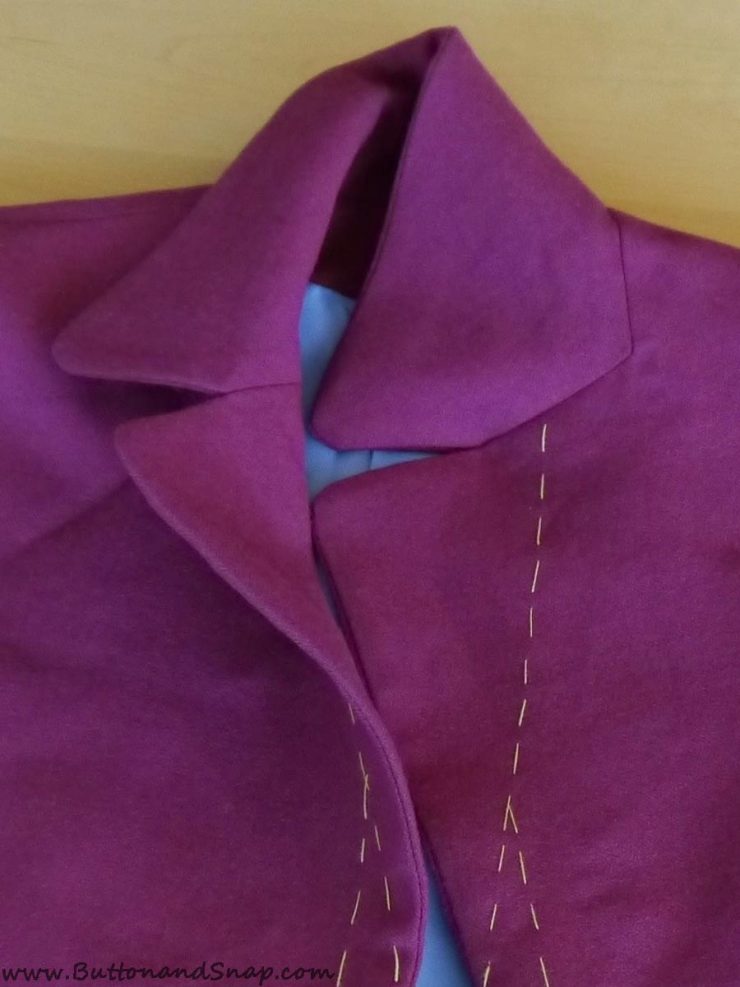
It’s not meant to be finished or worn, and it’s also not fitted to any body. We only focussed on the technique of putting it together, and I wanted to keep it open so that I can look inside for future reference. It was constructed using semi-industrial methods , meaning there was almost no hand-stitching involved.
In this post I just want to give you an overview of the course because I’m so excited about everything I learned. However, I’m starting a new blazer, and I plan to go through each step I learned in detail as I make it.
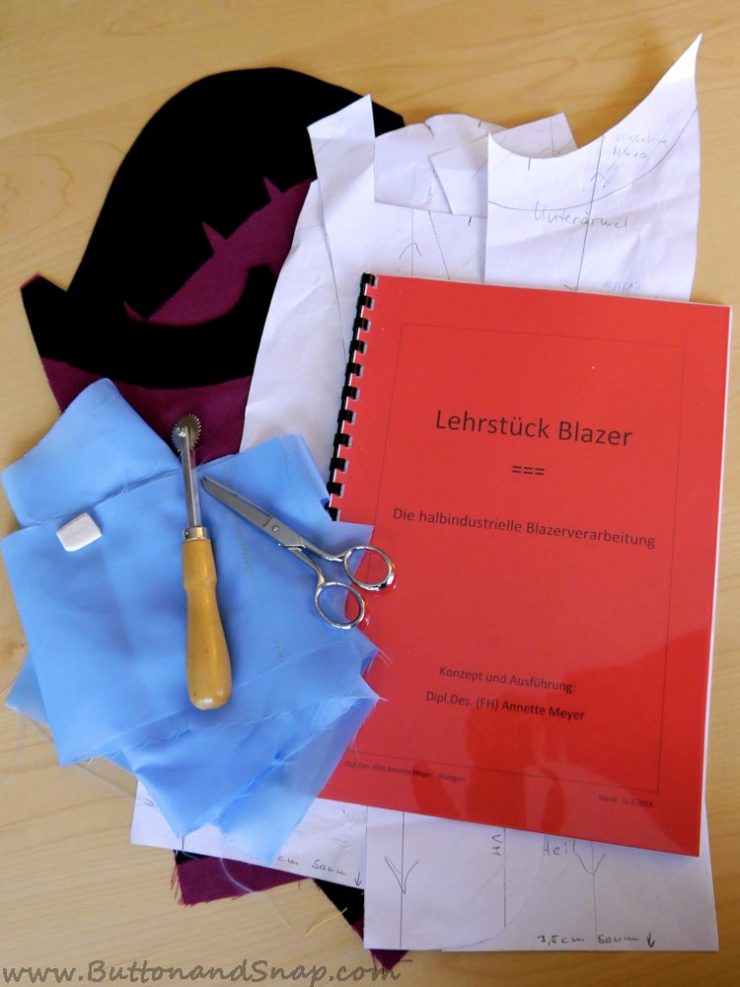
We had a lot of prep work before the couse started, so we met for an hour to get the pattern pieces and we were told how to cut them out and add the interfacing before the class started. Getting everything cut out, interfaced, marked and basted took about 8 hours, though I hope that will go faster next time when I know what I’m doing.
A real challenge do this was that the course was in German. Since sewing is something I do at home alone, I’ve never gotten familiar with German sewing terms. That turned out embarrassingly when I had to ask what a “Besatz” was (it means facing) and the meaning of “am Stoffbruch legen” (it means place on fold). After that the teacher thought I was a complete beginner. Whoops.
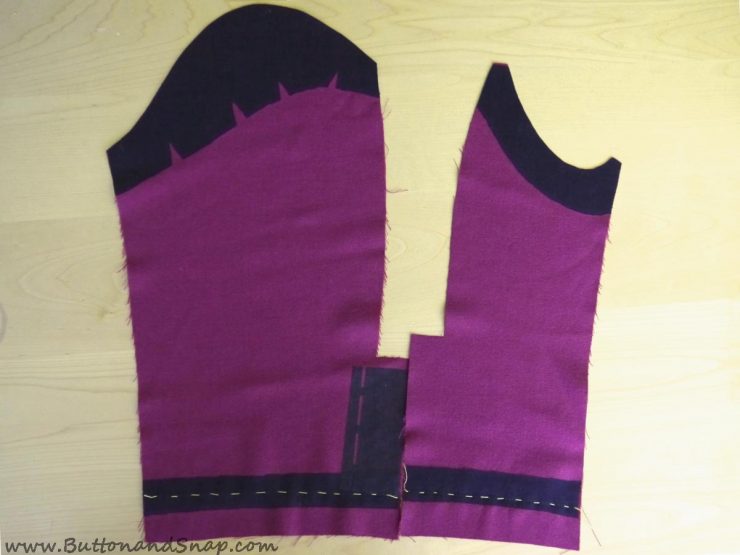
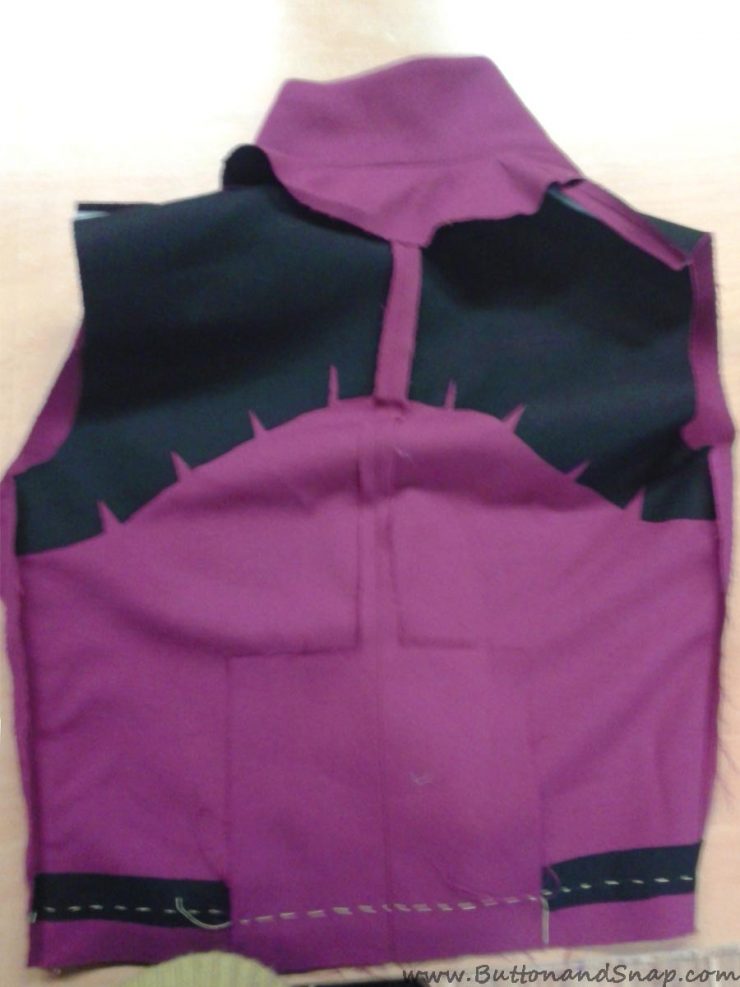
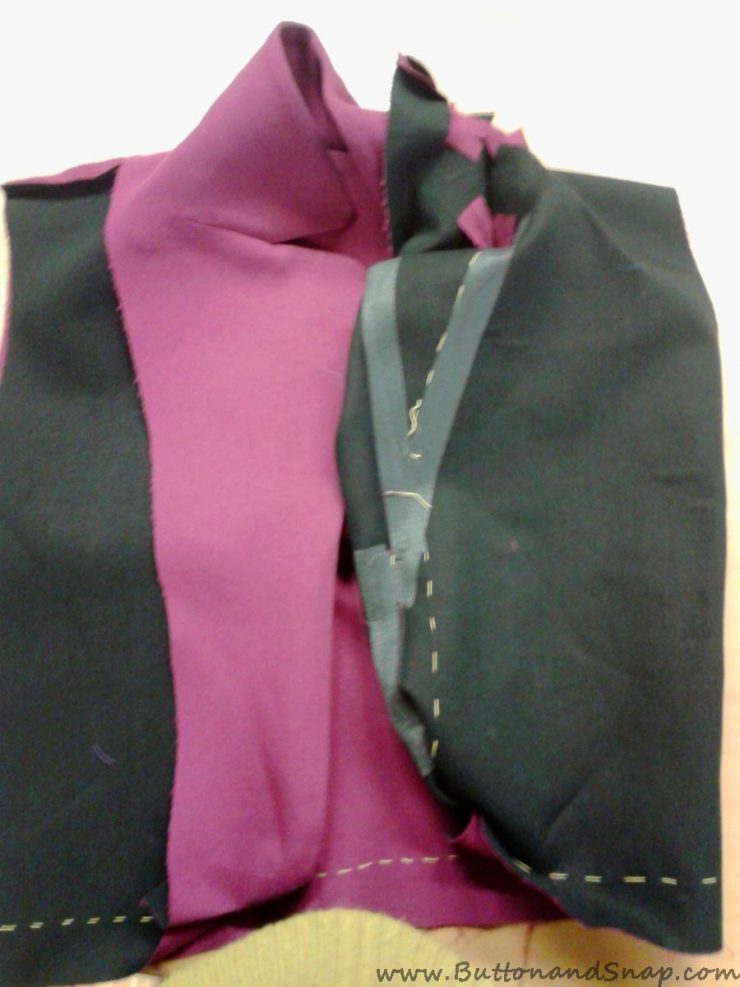
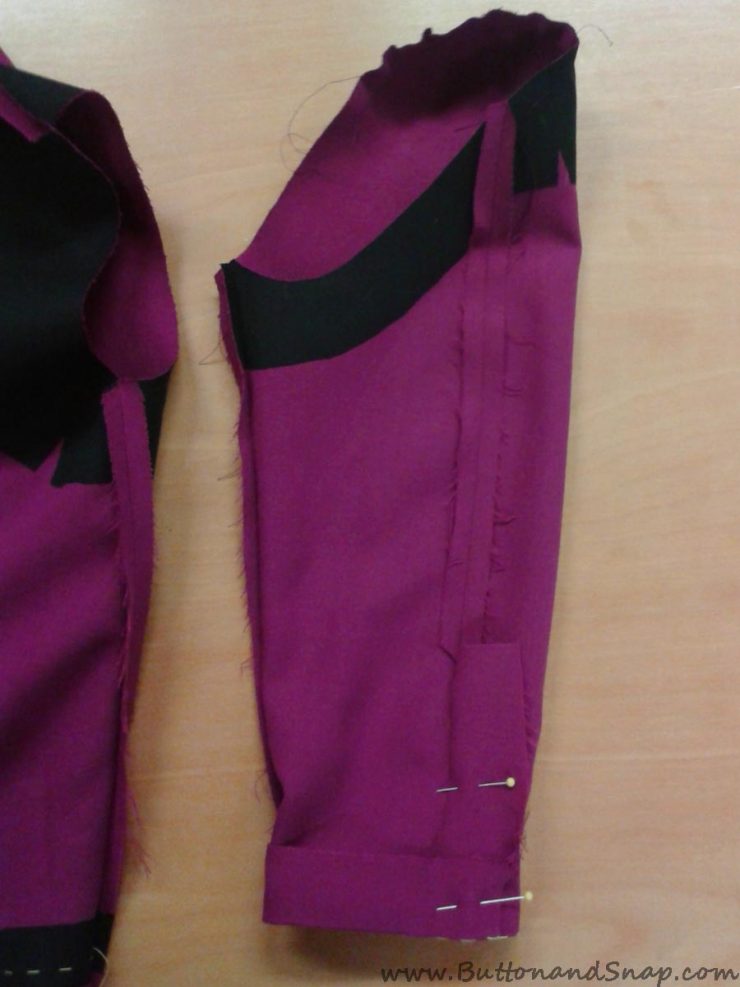
The two pictures above are of my prepared front and back pieces as well as the sleeve pieces. The notches on the edge of the interfacing are there to relieve any tension along the edge that could cause a ridge on the right side of the fabric.
I made one mistake with this interfacing. As you can see, the basting for the hem line is more or less centered on a 1″ wide piece of interfacing. This was wrong. I actually should have placed the interfacing so that its top edge abuts the hem line, but it remains completely within the hem allowance.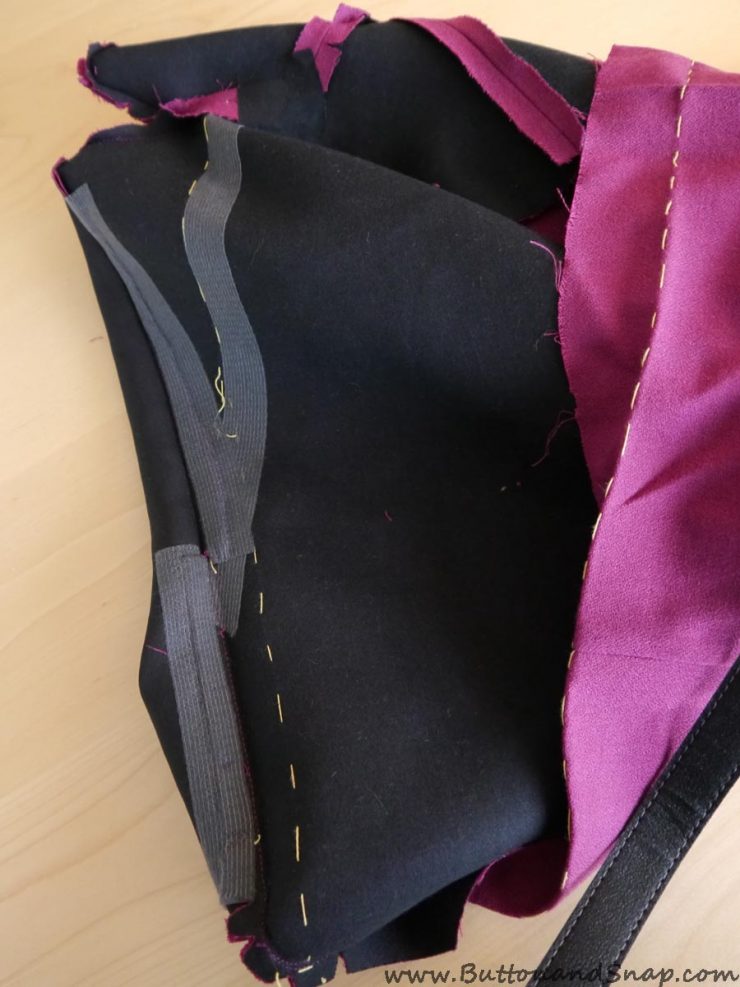
We used 5 different types of fusible interfacing for this project. A medium-weight knit interfacing is fused to the front and the upper back, tops of the sleeve pieces, and the upper collar. The under collar, front facing, and back neck facing were fused to a lightweight knit interfacing.
At the sleeve opening and back vent you can see a tape with a dashed line of holes running down it. It’s an edge stabilizer, and the holes are on the line where the fabric will be folded.
The last 2 type of interfacing were 3/8″ and 3/4″ band, which were used instead of easing stitches and understitching at the shoulder and lapel. I loved this trick, and I’ll go into it more in a later post.
For now, I’ll just share a few pictures I took during the course (apologies for the quality; I was using my phone.)
Back with collar and neck facing; the back vent is basted shut:
Front with collar before adding lining.
A view of the inside of the lapel:
A sleeve ready to be attached:
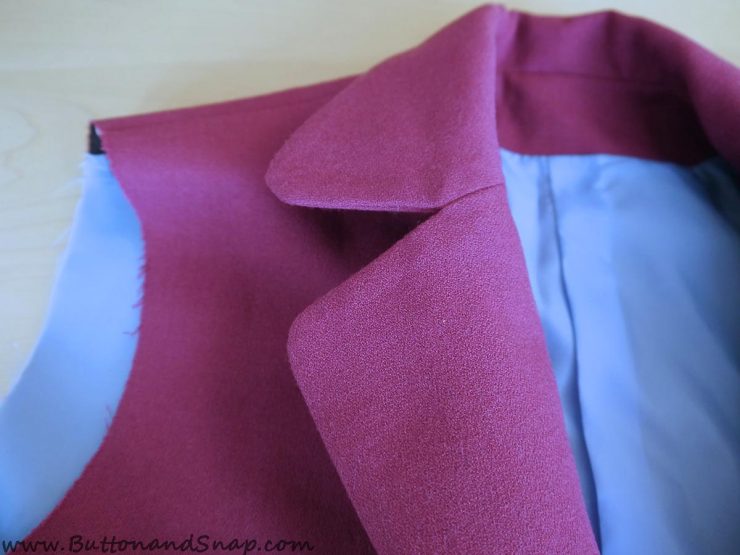
Finished, with collar and lining (and one sleeve which you can’t see here):
And the underside of the collar:
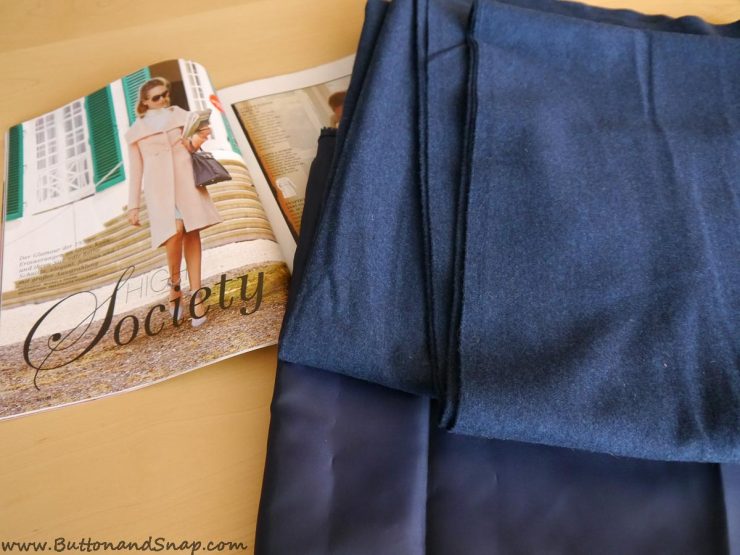
And finally, here’s the new blazer I’m starting. It’s going to be a shorter version of this pink coat from Burda, made from this navy blue wool that my grandma gave me 🙂




Margaret
Lots of good ideas so that the project can actually be finished!
Rhonda
Lovely. Looks like it was a great class.